If you manage a WordPress site, you probably want to reach more people. Some of your visitors may prefer listening instead of reading. Others might speak a different language.
Adding multilingual text to speech solves both problems. It lets people hear your content in a voice they understand. This helps them stay longer, learn faster, and enjoy your site more.
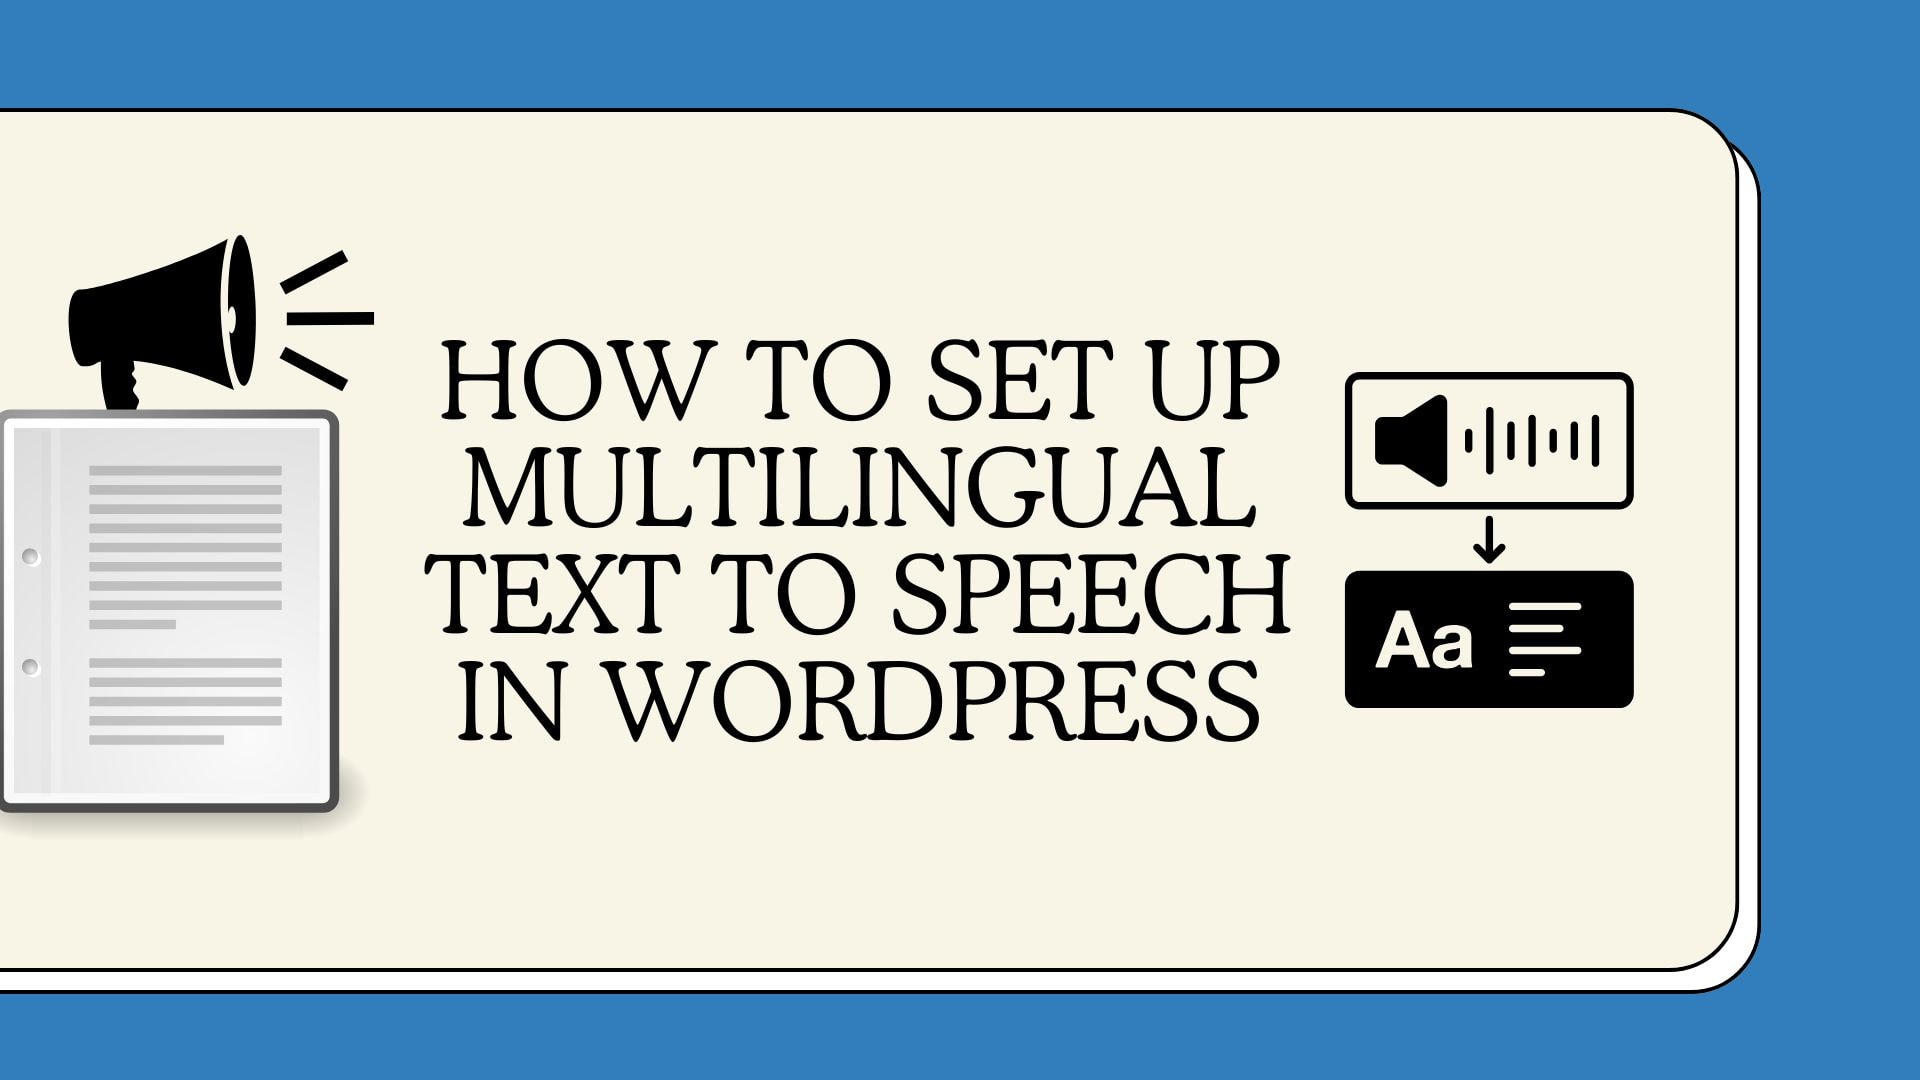
You don’t need to write any code or set up complicated tools. In this guide, I’ll walk you through how to set it up step by step using the Text to speech pro plugin that’s easy to use and works right away.
Let’s begin!
Why Add Multilingual Text to Speech to WordPress?
Before you install anything, let’s understand why adding voice playback in different languages helps your visitors and improves your site overall:
More ways to access your content
Some people don’t like reading. Others can’t. When you offer voice playback, visitors can choose how they want to engage. It’s simple, flexible, and works for more people.
Better support for global users
If your site has translated content, adding voice in those languages makes it even more helpful. People feel more connected when they hear a voice that matches their language.
Visitors stay longer
When users can listen, they tend to stay on your site longer. That gives you more time to share your message, show your products, or guide them to the next step.
If you want to improve the user experience without much effort, text to speech is one of the easiest upgrades you can make.
Makes your site more inclusive
Adding text to speech shows that you care about different types of users. Whether someone has a disability or just prefers audio, your site becomes more welcoming.
How to Set Up Multilingual Text-to-Speech on a WordPress Website
Let’s delve into the step-by-step process of integrating multilingual text-to-speech functionality into your WordPress site:
Step 1: Choose a Text to Speech Plugin
The first thing you need is a good plugin. This one decision makes everything else easier or harder, so take a moment to pick the right one.
Here are a few things to consider when making your choice:
Popular Text-to-Speech Plugins for WordPress
These are some well-known options that offer a mix of features and ease of use:
- Google Cloud Text-to-Speech – Great for multilingual support and flexible voice features.
- ResponsiveVoice Text to Speech – Simple, lightweight, and good for basic setups.
- Text-to-Speech TTS – Comes with custom voice settings and accent control.
Features to Look For
Not all plugins offer the same tools. Here’s what you should look for:
- Multilingual support – Make sure it can handle all the languages you plan to use.
- Voice selection – A good plugin should give you a range of voices and accents.
- Ease of use – The interface should be simple enough to figure out quickly.
- Customization options – Look for controls like speech speed, pitch, and volume so you can match the voice to your site’s tone.
Step 2: Install and Configure the Plugin
Before you can enable multilingual playback, you need to install the plugin and set the default player and voice preferences.
Installing the Plugin
You can install either the free or Pro version of the plugin directly from your WordPress dashboard:
- Log in to your WordPress admin panel.
- Navigate to Plugins > Add New.
- Search for “TTS” or “Text to Speech”.
- Locate the plugin by Azizul Hasan.
- Click Install Now, then Activate.
After activation, you’ll be automatically redirected to the plugin settings page.
Initial Configuration
Once activated, the plugin is ready to use with default settings. You can begin customizing it under various tabs in the settings menu.
Step 3: Customize the TTS Player and Voice Settings
After installation, the next step is to configure the TTS playback behavior and visual appearance.

Player Placement and Content Types
- The player is automatically added to blog posts by default.
- You can control where it appears (before content, after content, or before the title) in the Customization menu.
- The free version supports one post type.
- The Pro version allows you to enable the player on multiple post types, such as pages, products, or LMS content.
Voice and Language Settings
- In the Listening tab, select your preferred voice and language for playback.
- The plugin uses browser-supported voices in the free version.
- The Pro version supports Google TTS Pro, Google Cloud TTS, ChatGPT TTS , offering a broader selection of voices and accents.
Step 4: Enable Multilingual Playback
To support multiple languages with voice playback, you need the Pro version of the plugin and a multilingual setup.
Enable Multilingual Capabilities
If your site does not yet support multiple languages, install a multilingual plugin:
- GTranslate
- WPML
- TranslatePress
These plugins let you configure different languages across your site and add language switchers for your users.
Configure the TTS Plugin for Multilingual Use
Multilingual support is enabled automatically. There’s no need to turn anything on manually.
As soon as your site has a compatible multilingual plugin (like WPML, TranslatePress, or GTranslate) installed and properly configured, the TTS plugin will detect it and activate multilingual functionality on its own.
To configure voice playback with Google TTS Pro:
- Go to the Listening tab in the plugin settings.
- From the player dropdown, select Google TTS Pro.
- The plugin will now display a separate row for each language detected from your multilingual setup.
- For each language, select the appropriate voice and accent using the dropdown menus.
Example Configuration:
- English → English (Australia)
- Spanish → Spanish (US)
- French → French (France)
After assigning voices to each language, click Save to store your settings.

Now, whenever a user switches your site’s language via the language switcher, the TTS player will automatically switch to the correct voice and accent based on your configuration.
Important Note on Voice Matching
When using Google TTS Pro, each language added by your multilingual plugin (like GTranslate) will appear as a separate row in the Listening tab.
It’s important to carefully assign a voice to each language:
- The selected voice language and accent must align with the language setting from your multilingual plugin.
- For example, if the plugin outputs Spanish (Spain), choosing a Spanish (Mexico) voice may lead to inconsistent behavior.
- While Google TTS Pro is flexible, misaligned voice-language pairs can affect pronunciation or cause playback mismatch.
Tip: Stick to clearly matching language-voice pairs like:
- English → English (Australia)
- Spanish → Spanish (Spain)
- French → French (France)
There is no need to upload credentials or JSON files for Google TTS Pro. Everything runs through built-in integration and is simpler than Google Cloud TTS.
Also, when you will select Google Cloud TTS it will look like this:

Additionally, the Google Cloud TTS integration requires uploading a valid JSON credentials file from your Google Cloud account.
And when you will select ChatGPT TTS it will look like this:

Step 5: Test and Troubleshoot Multilingual Playback
Before going live, verify that your TTS setup works correctly across all languages.
Testing Your Setup
Visit a multilingual page on your site and use the TTS player to confirm:
- The voice plays clearly
- The correct content is being read
- The voice and accent change when the site language changes
Switch between multiple languages using your site’s language switcher to ensure the correct voices are being applied.
Troubleshooting Tips
If something isn’t working as expected:
- Confirm you’re using a Pro player, not the free Default player
- Double-check that language and voice codes match exactly
- Re-upload your JSON key if using Google Cloud TTS
- Make sure your translation plugin is properly configured
- Clear cache or regenerate audio files if necessary
How to Fix Common Issues
If something doesn’t work, try these quick fixes:
- Check for plugin conflicts – Sometimes other plugins can interfere with playback.
- Confirm language settings – Make sure each language is fully set up in both your WordPress and TTS plugin settings.
- Update everything – Use the latest version of WordPress and all plugins to avoid bugs or glitches.
Now, if none of these help, refer to the plugin’s support guide or reach out to their support team for help.
Final Thoughts
Multilingual text to speech is no longer a luxury, it’s a powerful upgrade to your WordPress site. It boosts accessibility, improves engagement, and helps you reach a truly global audience.
Text to Speech TTS plugin gives you everything you need to add high-quality voice playback in 50+ languages, no code or setup required. You can start with the free version and upgrade for advanced features like MP3 downloads, analytics, and custom targeting.
Want to try it on your site? Explore Text to Speech TTS.
FAQs
Yes. As long as your plugin supports multiple languages and integrates with translation tools like WPML or TranslatePress, it works seamlessly.
No. The plugin featured in this guide works out of the box. You don’t need any third-party accounts or API keys to start using built-in voices.
Yes, downloadable MP3s are available in the Pro version. Great for education, podcast-style experiences, or offline listening.
Yes. Voice playback works on most LMS plugins and product pages. You can enable it across course content, checkout pages, and product descriptions.
It integrates smoothly with WPML, TranslatePress, GTranslate, and similar plugins. You can assign different voices per language.
🔊 Stay Updated with AtlasVoice
Get the latest tips on text-to-speech, accessibility, and WordPress delivered to your inbox.
No spam. Unsubscribe anytime.


Attn. Director,
We are interested in your products. Please contact us if your company can handle a bulk supply of your products to Cameroon.
Please send your reply to bahmbi3@aghemfondom.com
HRM Bah Mbi