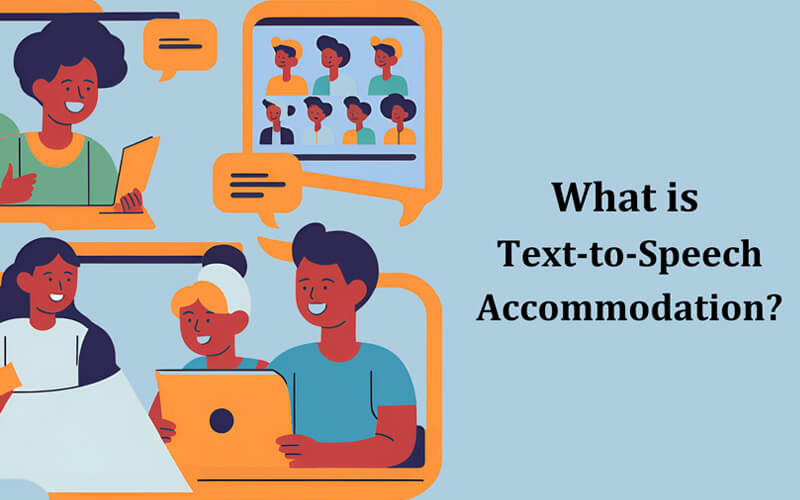
Reading isn’t always easy. Sometimes you’re busy, tired, or just want to listen instead. That’s where text-to-speech helps. It turns written words into spoken voices so you can hear the content instead of reading it.
You can use it while driving, doing chores, or resting your eyes. It’s a simple way to stay productive without staring at a screen. Most phones, laptops, and apps already have this feature. You just need to know how to set it up.
In this guide, you’ll learn how to use text-to-speech on your favorite devices and apps. I’ll show you exactly where to find it and how to make it work for you.
What is the purpose of text-to-speech technology?

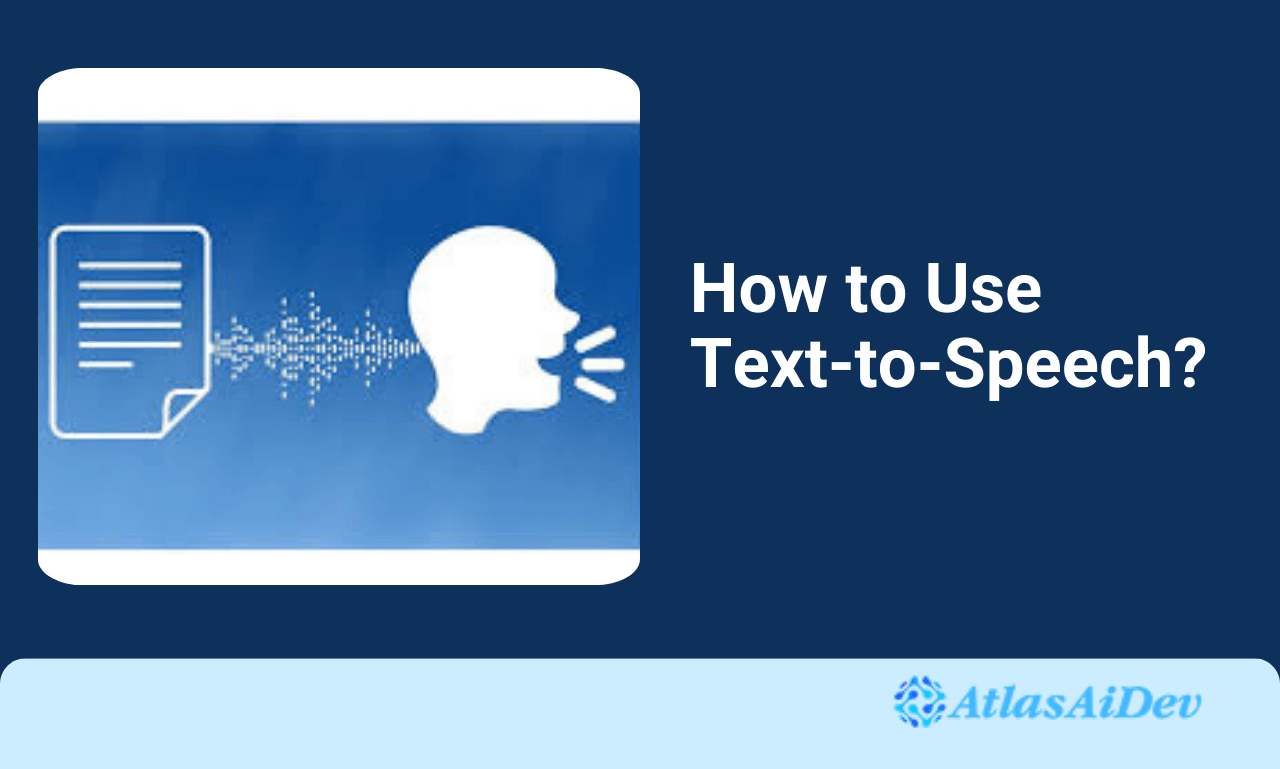
Text-to-speech, or TTS, is a feature that turns written text into spoken words. Instead of reading from a screen, you can listen to the content through your phone, computer, or even a website.
It’s helpful in many situations. You might use it while browsing a blog, following a recipe, or reading the news online. Some people turn it on while driving or working to stay hands-free. Others use it for accessibility or to reduce eye strain.
TTS works across platforms. Whether you’re on an app, using your browser, or visiting a website, it can read the text out loud. It’s a simple way to listen instead of read.
How to Use Text-to-Speech on a Website
If you’re using WordPress and want to let visitors listen to your content, the easiest way is with the Text To Speech TTS plugin. It’s simple, fast, and works right after you install it. No registration, no API keys, no setup stress.
Here’s how to use tts on your site:
Step 1: Install the Plugin
- Go to your WordPress Dashboard
- Click Plugins > Add New
- Search for Text To Speech TTS Accessibility
- Click Install Now, then Activate
Once you activate it, the plugin will automatically start showing a small play button on your posts and pages. Visitors can click this button to hear your content read aloud.
For a more detailed process. Read this
Step 2: Customize Basic Settings
After you install and activate the plugin, it automatically adds a player to your posts, no extra setup needed. You’ll be redirected to the plugin’s Settings menu, where some key defaults are already applied.
By default, the player is added to regular posts. If you want it to show up on custom post types, you can select those from the dropdown, but only in the Pro version, which supports multiple post types.
From the Customization tab, you can:
- Choose the player style (the free version includes the “default” design)
- Set the player position (before content or after content)
- Adjust colors like background and text
- Even add custom CSS for more control over the look
Once you’re done styling, hit Save to apply your changes.
Next, go to the Listening tab. Here you can:
- Choose the voice and language
- Fine-tune how the content is read aloud
This setup gives you a fully working player on your posts with your preferred design, voice, and behavior.
Step 3: Upgrade for More Control (Text To Speech Pro)
If you want advanced features, you can upgrade to Text To Speech Pro. This unlocks:
- Google Cloud voice support
- ChatGPT voice integration
- Downloadable MP3 files
- Text alias for custom spoken output
- CSS selector targeting (read only specific parts)
- Support for WPML, TranslatePress, and GTranslate
- Support for custom post types
- Analytics, multilingual audio, and more
Step 4: You’re Done
Once installed, your visitors will see a responsive player on your site. They can listen to your blog posts, product pages, or any text content with just one click.
This not only makes your website more accessible but also improves engagement and reach, especially for mobile users or those who prefer listening over reading.
How To Use Google Test-To-Speech?
Use the following methods to use Google Test-to-Speech output:
Your device can transform text input and play audio aloud with text-to-speech.
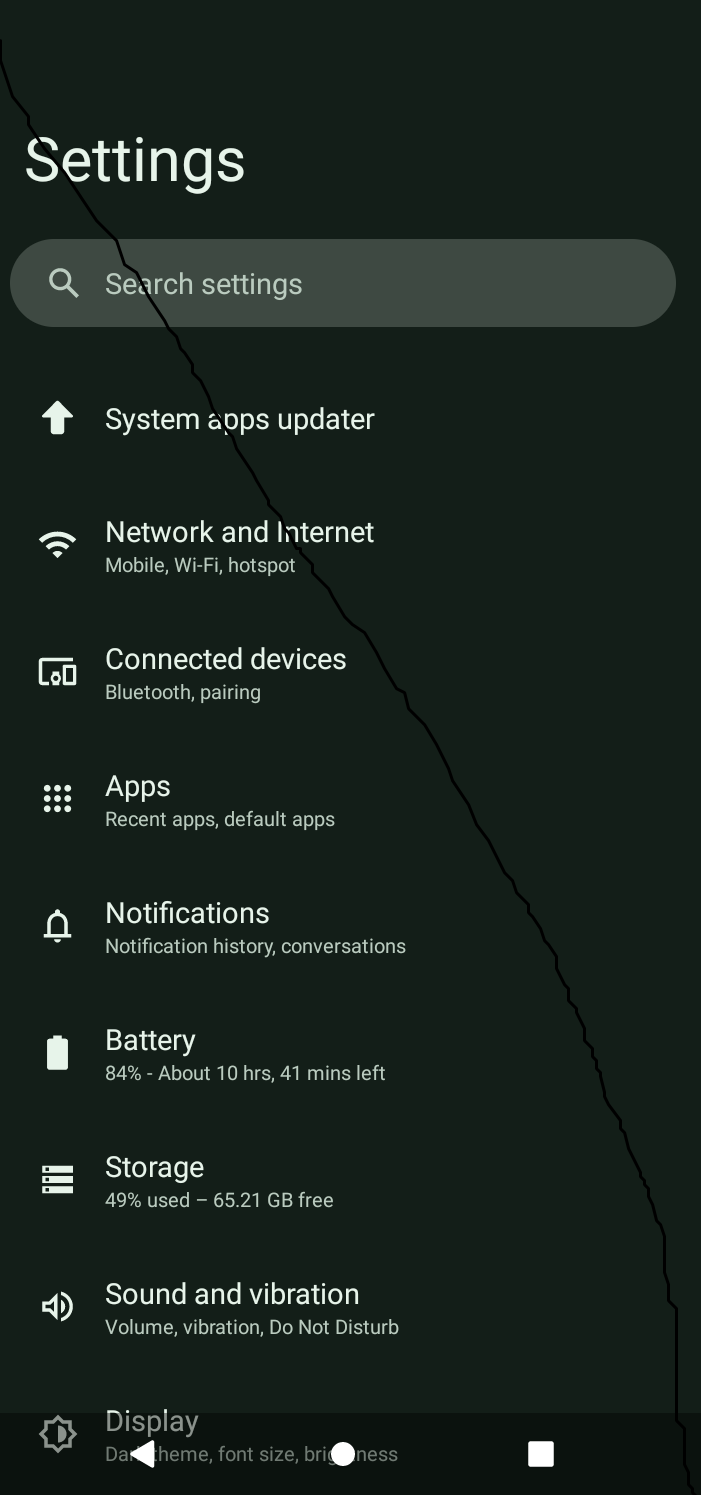
- Go into Settings on your smartphone.
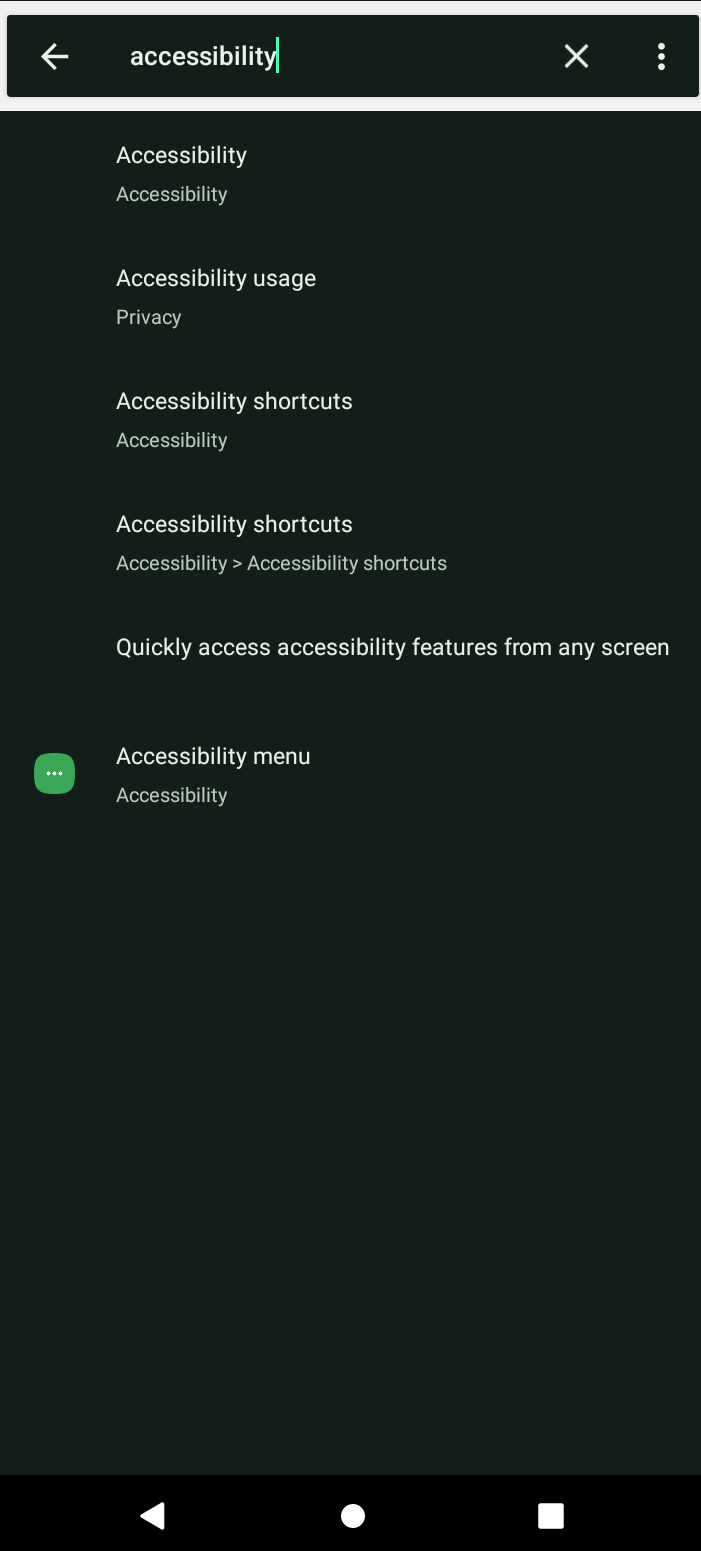
- Select Text-to-speech output after selecting Accessibility (you can also search for it from the setting).
- Here, you will find an option of “Screen reader” and there you should tap “Select to speak”.
- Select the language, speech rate, pitch, and engine of your choice.
Device-specific default text-to-speech engine choices exist. The text-to-speech engines offered by Google, the manufacturer of the device, and any third-party engines you may have acquired from the Google Play Store are your options.
Advice: Click Play to hear a brief example of voice synthesis.
- Install speech data in a different language.
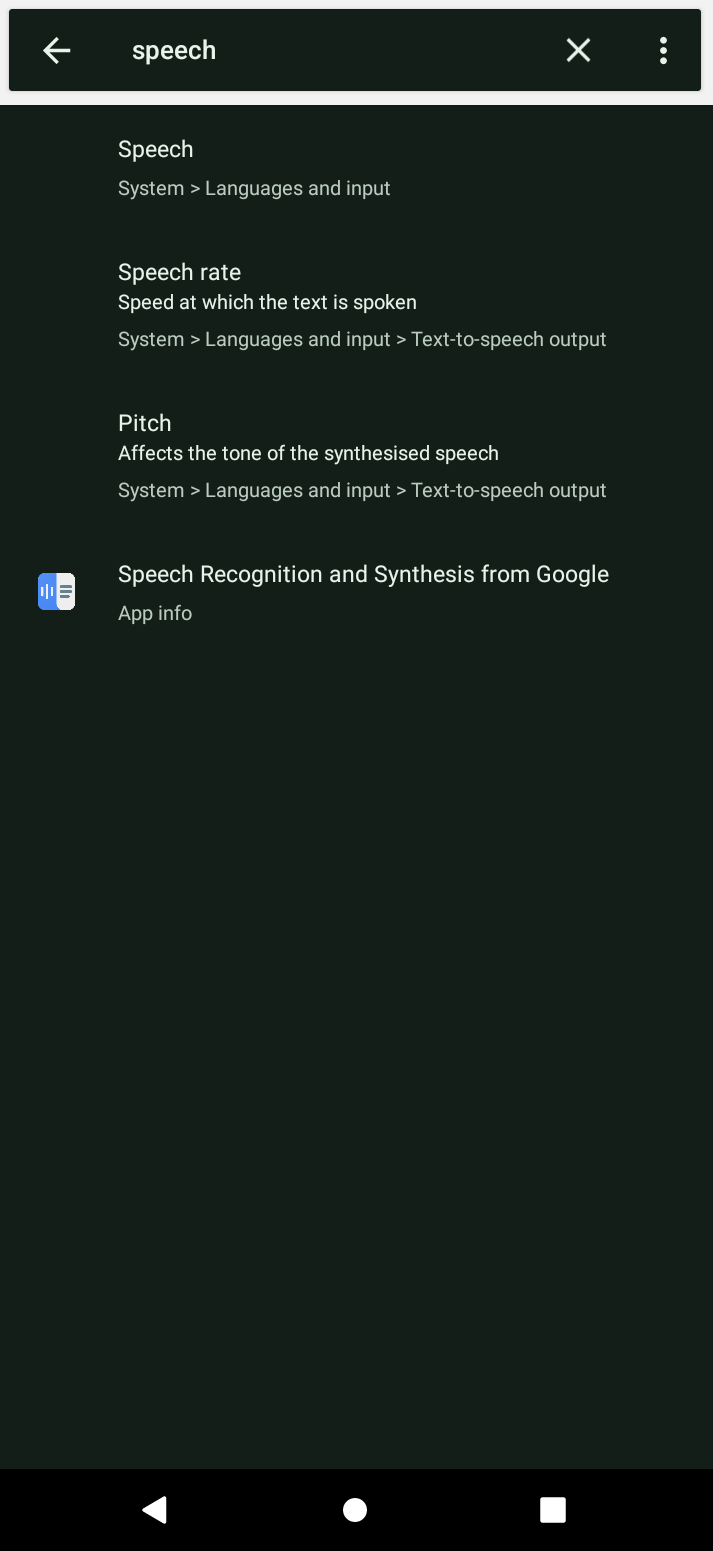
- Search in the settings bar “Speech” and then tap on the speech system.
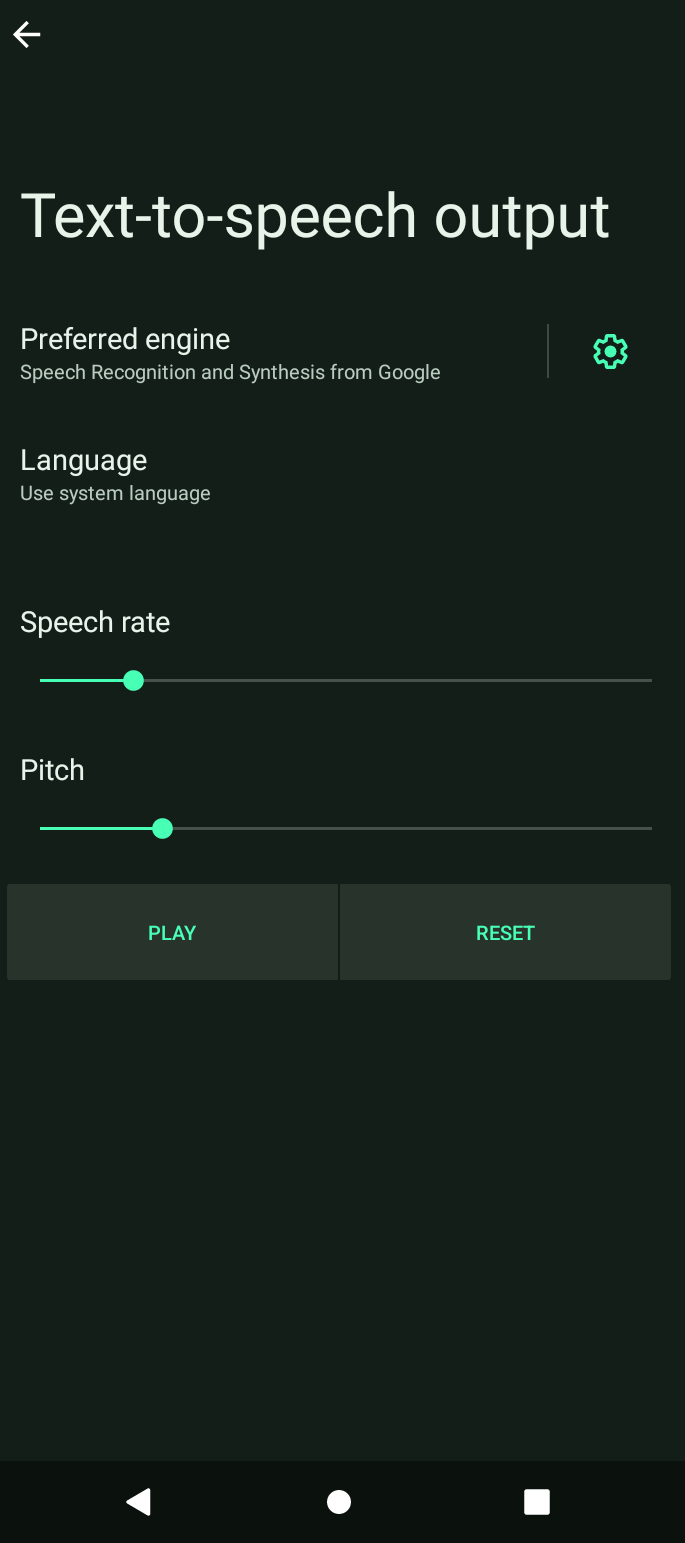
- Go into Text-to-speech output and then in the Preferred engine tap on the settings icon.
- Click Install voice data.
- Select the language that needs to be installed.
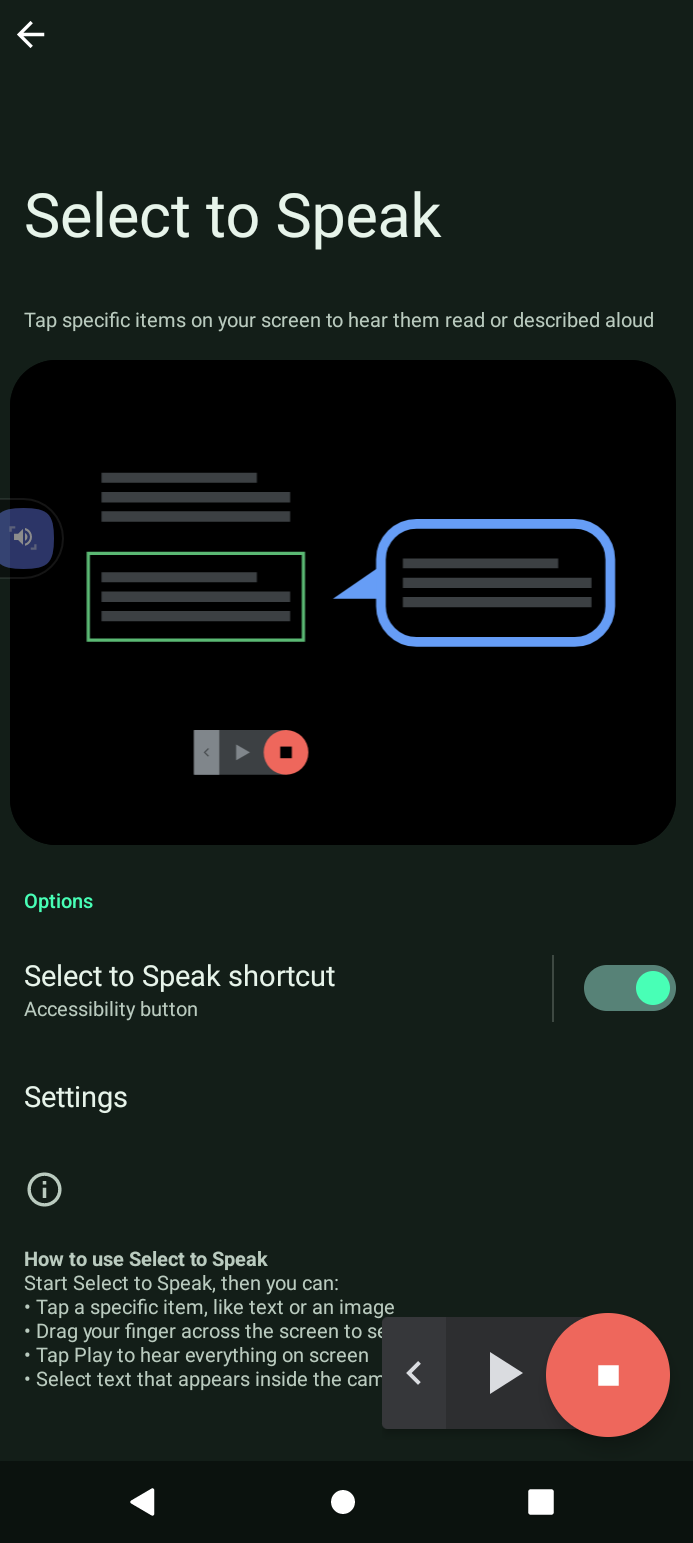
How to Use Google Text-to-Speech on Android
Most Android phones already come with Google’s text-to-speech feature built in. You just need to turn it on.
Here’s how to do it:
- Open Settings
- Scroll to Accessibility
- Tap on Select-to-Speak
- Turn it on
Once enabled, you’ll see a little icon at the bottom of your screen. Tap it and select any text on the screen to hear it read out loud.
You can also explore TalkBack, which is more advanced and designed for visually impaired users. But for most people, Select-to-Speak is simple and useful.
How to Use Text-To-Speech on iPhone?
Apple makes it pretty easy to use TTS. You’ll find it under accessibility settings.
Here’s what to do:
- Go to Settings
- Tap Accessibility
- Select Spoken Content
There are two main options you can enable:
- Speak Selection lets you highlight any text and press “Speak”
- Speak Screen reads the whole screen when you swipe down with two fingers
You can also adjust voice speed and pick different voices from the same menu. Once it’s on, it works in Safari, Notes, Mail, and most apps that show readable text.
How to Use Text-to-Speech in Google Docs
Google Docs doesn’t come with a TTS feature built-in, but there are easy workarounds.
If you’re using Chrome, the Read Aloud extension works here too. Just open your Google Doc, click the extension icon, and it will read your document.
You can also use screen readers like ChromeVox or use system-level TTS features on your device. For example, Mac users can turn on “Speak Selection,” and Windows users can enable Narrator.
If you’re using Google Workspace with accessibility tools, you’ll find even more TTS options available, especially if screen reader support is already active in your settings.
How to Enable Text-to-Speech on WhatsApp
WhatsApp doesn’t have its own built-in text-to-speech feature. But you can still use your phone’s TTS system to read messages out loud.
On Android, turn on Select-to-Speak from the Accessibility settings. Once it’s enabled, tap the icon and highlight a WhatsApp message. The system will read it out loud.
On iPhone, enable Speak Selection under Settings > Accessibility > Spoken Content. Then long-press the message, select the text, and tap “Speak.”
You can also ask voice assistants like Google Assistant or Siri to read new messages aloud, especially if your hands are full.
How to Use TikTok’s Text-to-Speech Feature
TikTok has a built-in text-to-speech option that makes it easy to add voiceover to your videos. It’s often used for accessibility, but it’s also popular among creators who want a robotic or fun voice in their content.
Here’s how to use it:
- Create a video and go to the text tool
- Type your caption
- Tap on the text and select Text-to-Speech
That’s it. TikTok will automatically add the voice to your video. You can choose from a few different voice styles, and it works well for tutorials, jokes, or storytelling.
It’s a fun way to bring more personality to your posts without recording your own voice.
Conclusion
Text-to-speech isn’t just a helpful feature, it’s something you can start using right away, whether you’re browsing a website, editing a document, or using your phone.
As you’ve seen, most devices and platforms already support it. You just need to know where to look and how to turn it on.
If you’re running a WordPress site, adding TTS with a plugin like Text To Speech Pro is one of the easiest ways to make your content more accessible and engaging.
FAQs
Do I need to sign up or use an API key to make it work?
No, you don’t. Just install the plugin, and it starts working right away. There’s nothing to register or connect.
Can I pick different voices or change the language?
Yes, you can. The plugin supports many voices and languages. If you want even more options, the Pro version gives you access to Google Cloud voices.
Will it work on phones and tablets too?
Yes, it works on most phones and tablets. Just keep in mind that some devices and browsers may have fewer voice options than others.
What if I only want part of the content to be read out loud?
You can do that. Just use the shortcode to pick the exact section you want to make playable. The Pro version lets you control this even more with CSS settings.
Can it read translated pages on my site?
Yes, it can. If you’re using translation plugins like WPML or TranslatePress, the text-to-speech will adjust to match the translated language.